It seems like a year since I’ve posted!! That is the way it goes sometimes in the midst of the holiday season when you run a small business.
I did manage to get this quick modification done to my T is for Teddy Bear Pattern. Here is the original cutie pie:

And here are the two modifications done to make your very own Christmas Bear or Christmas Mouse or a regular girl teddy bear and mouse. There are just some slight variations, but it’s basically the same pattern. The original pattern here on my blog can be found here: T is for Teddy Bear


If you missed my entire A-Z Crochet Toys with Me series, check out the original post for links to free toy patterns for each letter of the alphabet:
ORIGINAL POST updated with all the links for all of the toys.
Materials:
Yarns: Baby T was constructed with all Impeccable Yarn: Misty Blue as the main color and a bit of Plum and Green Lagoon in his shirt. This would be a super cute girly teddy as well – just choose different colors and keep going on rounds to make the t-shirt a dress. <3
**You can see in my update here my girl bear. She was made with I Love This Yarn in a brown and the mouse is Red Heart Super Saver in Light Grey.
-Hook: I used a G/4mm hook for both of these patterns.
-Safety Eyes (or yarn to embroider if you choose) and needle to embroider face.
-Stuffing. I have used Poly-Fill brand stuffing, but feel free to use what you prefer.
– I don’t use Stitch markers, but if you do you will want those to keep track of your rounds. As a “free” stitch marker you can loop a bright colored piece of scrap yarn through your stitch to act as a marker – then just pull it out when you get back around to it and move it up one row. Easy marker!
Now, there are just a few modifications to the original pattern for these two. See my notes below.

The girl bear is just the same, but I added rows to the t-shirt to make a dress. You can find the t-shirt pattern on my original post for T is for Teddy Bear.
For her dress, I ended up using my size H/5mm hook and did a chain 39 with sc 38 across and then joined to form a circle. (Working in the round) Then I did two more rows of 38 sc around. After those, I decreased to 36sc and did another row of 36sc around. Then I decreased to 30sc around and did two more rows of 30sc around. After that, decrease to 24sc and do 3 more rows of 24sc around. After this pick up Round 10 on the original t-shirt pattern
*You may need to alter these counts depending on your bear, gauge and stuffing. Just keep trying it on every few rows to see what you need to modify.
Once you finish the top of the dress and weave in your end, attach yarn to the bottom of the dress and sc evenly around. After that, I added an increase row to the bottom of the dress to make it flare out by doing (sc, inc) around and then I added 3 rows of hdc around before finishing off. You can keep going to make it longer and you can add more increases if you want it to flare more.
The mouse is made almost just the same as the bear, but here are the modifications to the original pattern:
For the legs, instead of going up to 24sc around, I stopped at the 18sc round and then added 4 more rows of 18sc around. So, round 1 will be 6sc – round 2 is 12sc – round 3 is 18sc and rounds 4-7 are 18sc around. Then decrease to 12sc for round 8 and decrease to 9sc around for round 9. After that work 9sc around for 10 more rounds. (See a more detailed pattern in the ORIGINAL POST)
Add a cute little Santa hat and you have a fun Christmas mouse!
The tail is a simple crocheted tube of 6sc around to the length that you like.
I embroidered the nose different for the mouse and pulled some darker grey yarn through for whiskers. To secure the whiskers, I inserted my fabric glue tip into the hole where the whisker yarn is and just squeeze a bit out into the hole. Make sure the tip on your fabric glue bottle is small and don’t squeeze too hard.

Pin this post and come back for all of the A-Z toys! You can find a link to the original post below to start from the beginning!!
In addition to all the original toys, I have so many extras that you can find right here free on my blog.

I realized after I started this project that I would never be able to update every new post with every new link – once I got down to the end of the alphabet, I would have to update about 20 post with all the links to all the new patters – So, I will be keeping THIS ORIGINAL POST updated with all the new links for all of the new toys. <3
In addition to the alphabet patterns, below you will find a list of toys that will be linked right here starting now. *these are not set in stone and I may decide to switch them as I work if I am inspired in a different direction. So, pin or save this post and come back and follow along with me or subscribe to my blog and get email updates when I make a new post.
Here are some other toys you may enjoy making:
Ball – for the ball toys in this project, I refer you to this post to make one – or many – crochet balls using your scrap yarns. The more textures the better. You can also add rattle boxes, squeakers, stress balls as filler and more. UPDATE: B is for Balls
Bunny – I have made a few bunnies in the past and I will be making another version of my Clover the Baby Bunny Pattern
UPDATE: Latte Bunny and B is for Bunny
Dinosaur – here on my blog you will find an entire Dinosaur Family. For this ABC event, I will be making a different version of Scrappy. He’s the perfect size and uses up some assorted scrap yarns. If you want a different option, Baby Pea is also a nice small size and also Pinky the Dezzy Inspired DRAGON is a good choice for D is for Dragon. UPDATE: D is for Dinosaur
Eye – I will be using the eyeball pattern from my Halloween Bag of Balls for this project. This one would be super cute with some crinkle paper inside. *Also, when you visit this post there is a Zombie ball that would make a cute Z word. UPDATE: E is for Eye
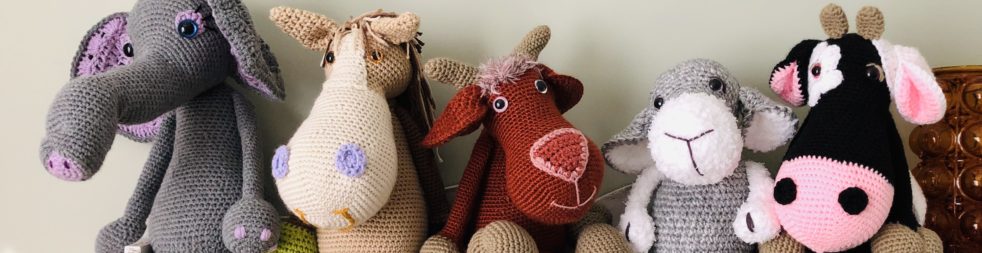
Goat – here on my blog you will find Ginger the Goat in my Farm Series. She is a bit large for this project so she will get a few modifications to be a bit smaller. Feel free to make her if you want a larger goat. *Baby KG will be available soon on my blog, but for now she is only in my Etsy and Ravelry.
Lamb– another make from my Farm Series is Lonny the Lamb. Lonny is a nice, small size so I will be using this pattern here for the Lamb, but will switch up the colors I’m sure. Maybe bright? Maybe a girl?
Octopus – in my opinion this octopus squeeze ball is the perfect baby toy when made from cotton so this is the pattern that I will be using right here. I like to use 100% cotton and the stress/squeeze balls on the inside of the head and it makes these the perfect baby toy with teether capabilities. And they are so quick to make you can make a handful.
Will you be joining in the fun? I’d love for you to make all of this with me, but if not pick a few and make it with me.
I’d love to see all your work or catch up with your progress so connect with me over on IG @theburgundybasket
#youandmeabccrochet
XOXO,
Kristi
Discover more from The Burgundy Basket
Subscribe to get the latest posts sent to your email.